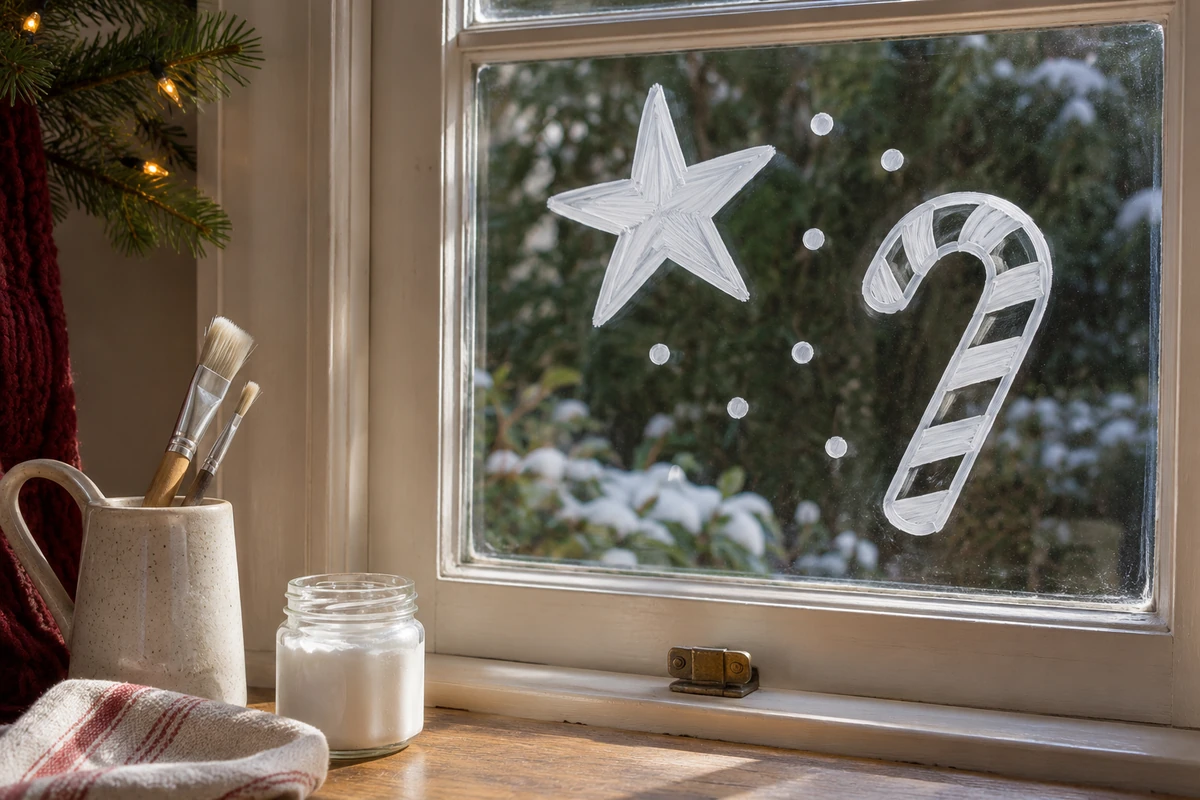
Easy Christmas Window Painting For Beginners
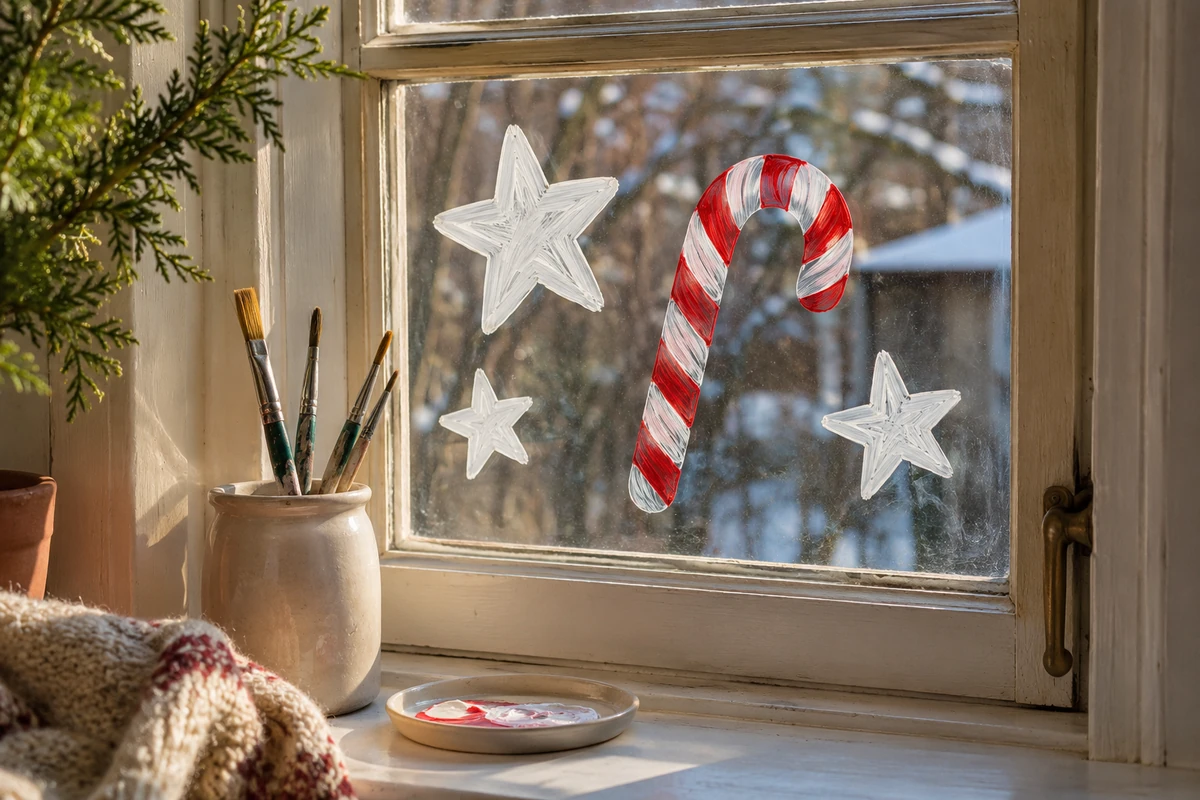
Easy Christmas window painting starts with one reachable pane, a marker you’ve tested on the glass, and a design small enough to finish in one sitting. Choose a white star and a striped candy cane for the first try.
Their simple outlines make it easy to see where to adjust your pressure or pause.
I’ll show how to choose the surface, test a patch, set up a paper guide, and trace the shapes in order. You’ll also see how to tidy a stray line and remove the design after the holiday. Start near a lower corner if you want the middle of the window to stay clear.
1. Choose The Glass And Gather Your Supplies
Start with a smooth, accessible surface and a water-removable marker labeled for that surface. If the window has a tint, film, or special coating, check its care instructions first. When compatibility is unclear, use a separate piece of plain glass in a freestanding frame.
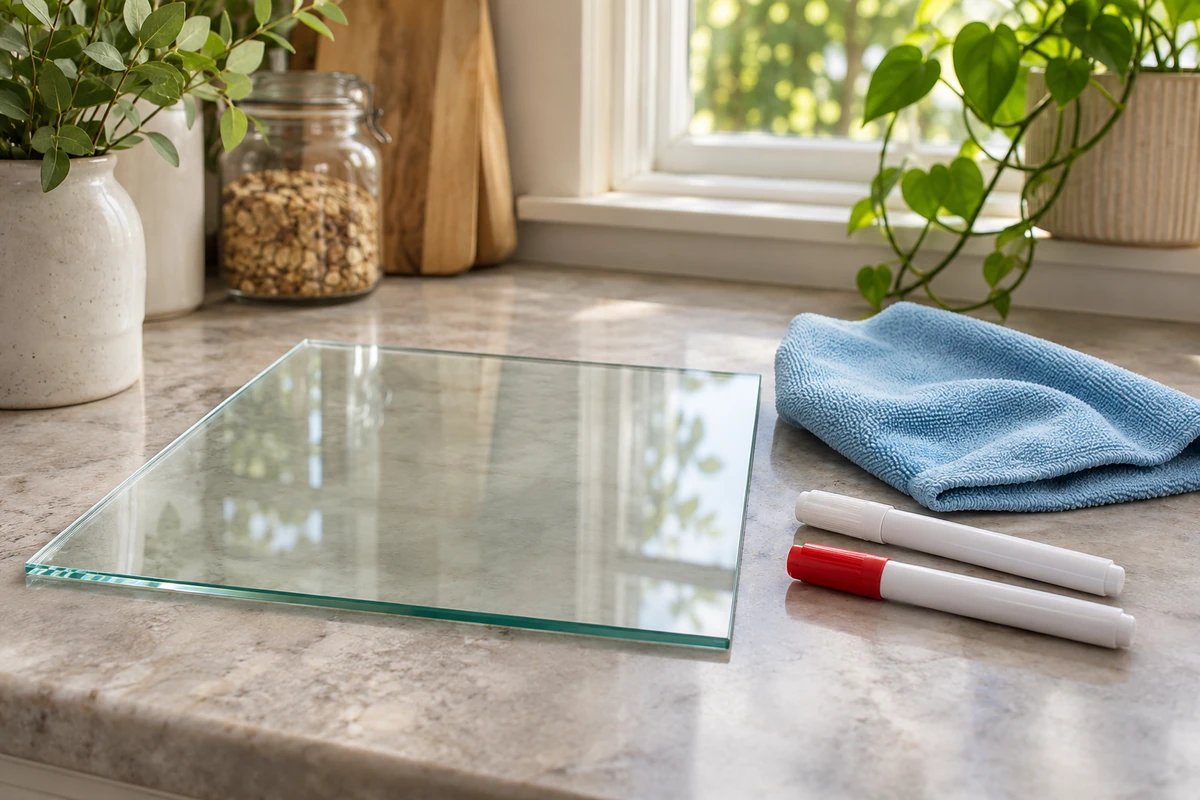
What You’ll Need
- A white glass marker and an optional red one
- Two soft, clean cloths
- Plain paper and a pencil
- Tape for holding the guide to a suitable opposite surface
- A clean sheet of paper for testing the marker tip
- A towel to protect the sill
Check that you can reach the entire design without leaning over a sink or standing on furniture. If part of the pane is out of reach, move the design lower or choose another pane. Try holding the paper guide against the proposed spot before cleaning anything.
That’s an easy way to find out whether the window handle, blind, or frame crosses the design.
2. Test A Small Patch And Let It Dry
Test each marker color before drawing. A small dry mark gives you a better sense of the finished line and lets you check whether the manufacturer’s cleanup method works on your pane.
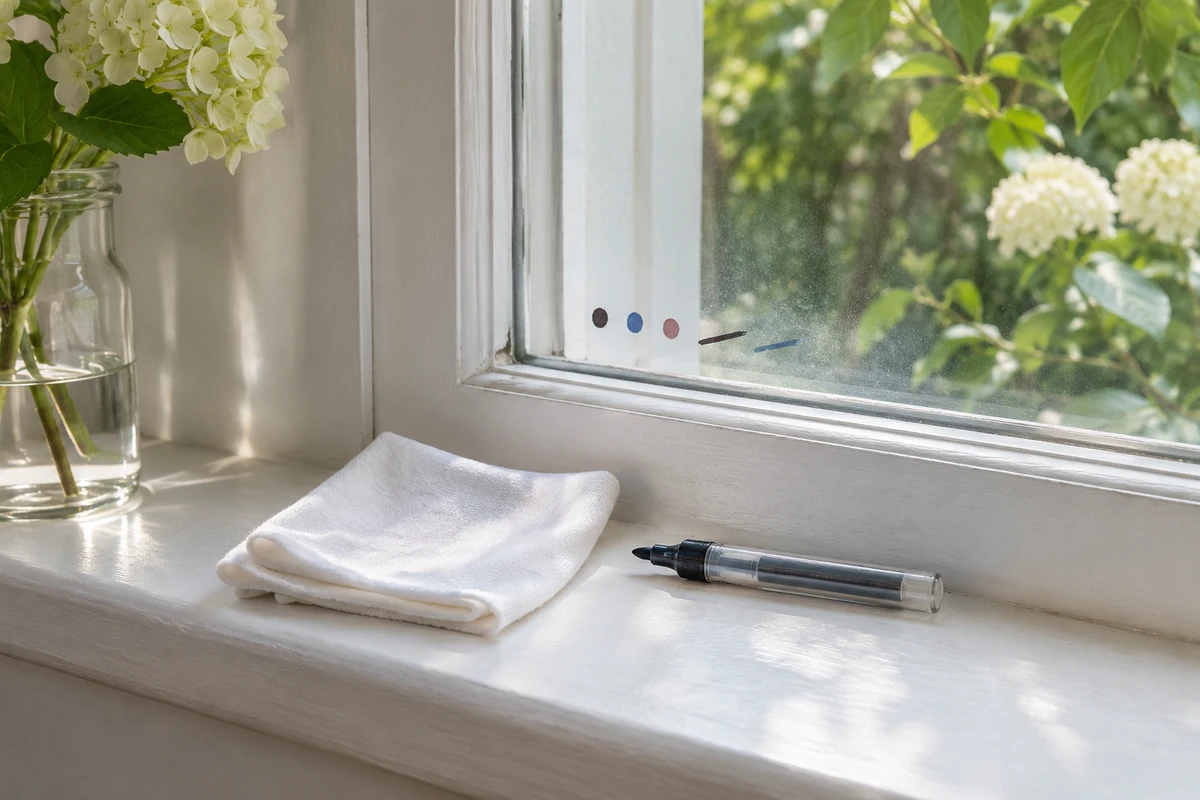
The easiest way to check a removable window marker is to make a tiny dot and short line in an inconspicuous corner, let them dry as directed, and remove them using the product instructions. Check the glass in daylight after it dries.
If you see residue or any change in the surface, choose another spot or material.
How To Run A Patch Test
- Clean a small area using the window’s care instructions.
- Dry the pane with a soft cloth.
- Prime the marker on scrap paper if its directions call for it.
- Draw a small dot and line near the edge, away from seals and trim.
- Let the marks dry and remove them as directed.
- Check the area from two angles before using the marker elsewhere.
Test on the same side where you plan to paint. A pane may have different treatments on opposite faces. Check the red marker separately from the white one, and keep marks off the surrounding wood or painted trim.
POSCA, for example, describes water cleanup on glass for its markers. Follow your own product’s instructions, especially if it offers a separate permanent finishing step.
3. Trace A Star And A Candy Cane
A paper guide helps you see the size and spacing before the marker touches the window. Draw a simple outline with a thick enough pencil line to see through the glass. A broad star and a generous cane hook are easier to trace than very fine shapes.
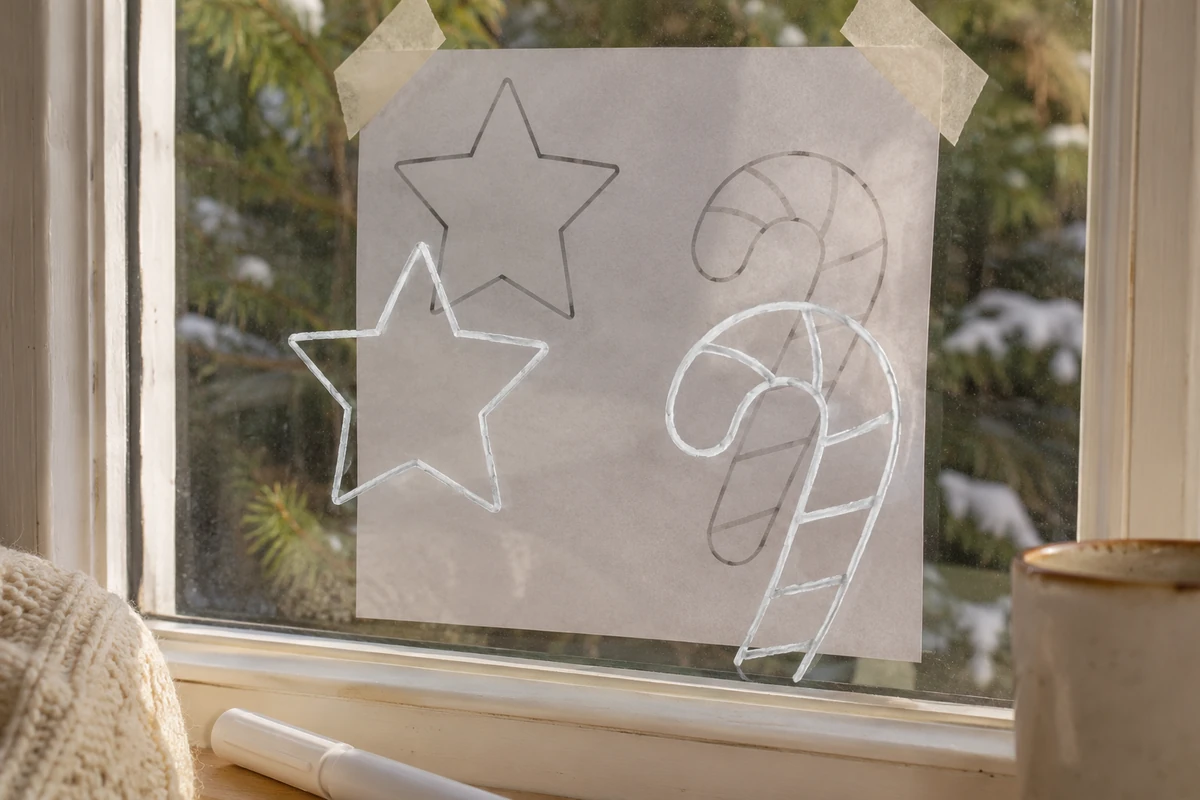
Steps To Trace The Design
- Sketch the shapes on paper at the size you want.
- Hold the guide in place and step back to check its height and margins.
- Secure it to the opposite face if you can reach that face safely. If you can’t, keep it beside the window as a visual reference.
- Trace the outline in short strokes, following one side of the shape at a time.
- Let the outline dry before adding red stripes or white dots.
- Remove the guide and look at the design from its main viewing position.
Draw the candy cane’s outside curve before the inner one. The outer shape gives you a clear guide for how wide the stripe area can be. If the first line looks thin, check the manufacturer’s advice before adding a second coat.
Going over a damp mark can disturb the first line.
For a slightly fuller picture, add a few dots where there’s already room around the shapes. Leave the window handle and any working edge free. A star and one cane can be plenty for a small pane.
For a different motif, draw a different star outline or rotate the candy cane a little toward the edge.
4. Fix A Mark Or Remove The Design
Use the marker maker’s removal method for a single mistake and for the finished design. Keep the cloth away from the frame and test before using a cleaner you haven’t tried on that window.
How To Clean Up
- Blot or wipe the part you want to remove with a soft cloth as directed by the marker maker.
- Use a clean part of the cloth for the next pass so you don’t spread pigment.
- Dry the spot before deciding whether to redraw it.
- Stop if you see a persistent mark and check the glass and marker instructions before trying anything stronger.
Clean a small section first when taking down the whole picture. That gives you a chance to see how much pigment the cloth picks up and whether it needs rinsing. Look at the glass from the side after it dries to spot streaks.
Keep scrapers and abrasive pads away unless the window manufacturer specifically approves them for that surface.
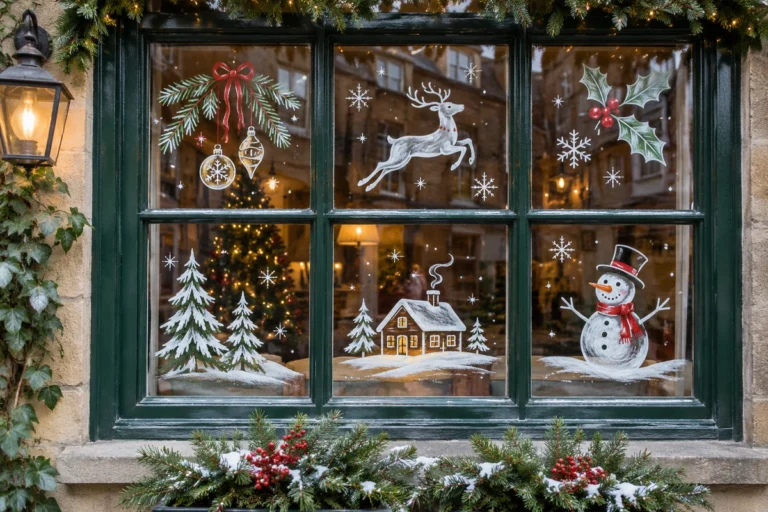
Once you’re comfortable with the two shapes, try these Christmas window painting ideas for a fuller pane. These winter window painting ideas work after the holiday decorations come down.
Frequently Asked Questions
A small trial design answers most beginner questions. Use it to check how the marker behaves and whether you like the design from both sides of the window.
What’s the easiest Christmas shape to paint on a window?
Try a five-point star, a few dots, or a candy cane with broad stripes. Draw it on paper first to check the proportions. Choose one shape you can recognize from the other side of the room.
Can I paint the inside of a window and see it outside?
Yes, if the glass and lighting let the lines show. Check from the main approach after making a few test marks. Thick outlines can be easier to read from farther away than small details.
Why does my window marker look streaky?
The glass may still be damp, or the marker may need to be primed according to its directions. Let a test line dry before changing anything. Wipe away a poor test mark and start on a dry area.
Do I need a stencil for easy Christmas window painting?
A paper guide helps with curves and spacing, but you can use it beside the pane if the other face is inaccessible. Make the lines thick on the paper so they’re easy to follow while you draw.
How do I keep my design from looking crowded?
Choose one corner and leave the middle clear. Look from the doorway after finishing the first shape. If the star and candy cane already read clearly together, add just a few dots where there’s an obvious gap.
Final Thoughts
Keep the first easy Christmas window painting small enough to finish and easy enough to remove. A tested marker, a paper guide, and two simple shapes give you a chance to learn how the pane behaves. Look at the picture from your normal seat before adding anything more.
A line can look a little uneven up close and still feel lovely from across the room. The next time you want a bigger design, you’ll already know which colors show, where the shapes fit, and how to take them down.



2 Comments