DIY Thanksgiving Place Cards With Leaves, Kraft Paper and Twine
I like to make the place cards before I set the Thanksgiving table. With the names written and the seating worked out, I can see where the water glasses, serving dishes, and extra chair need to go.
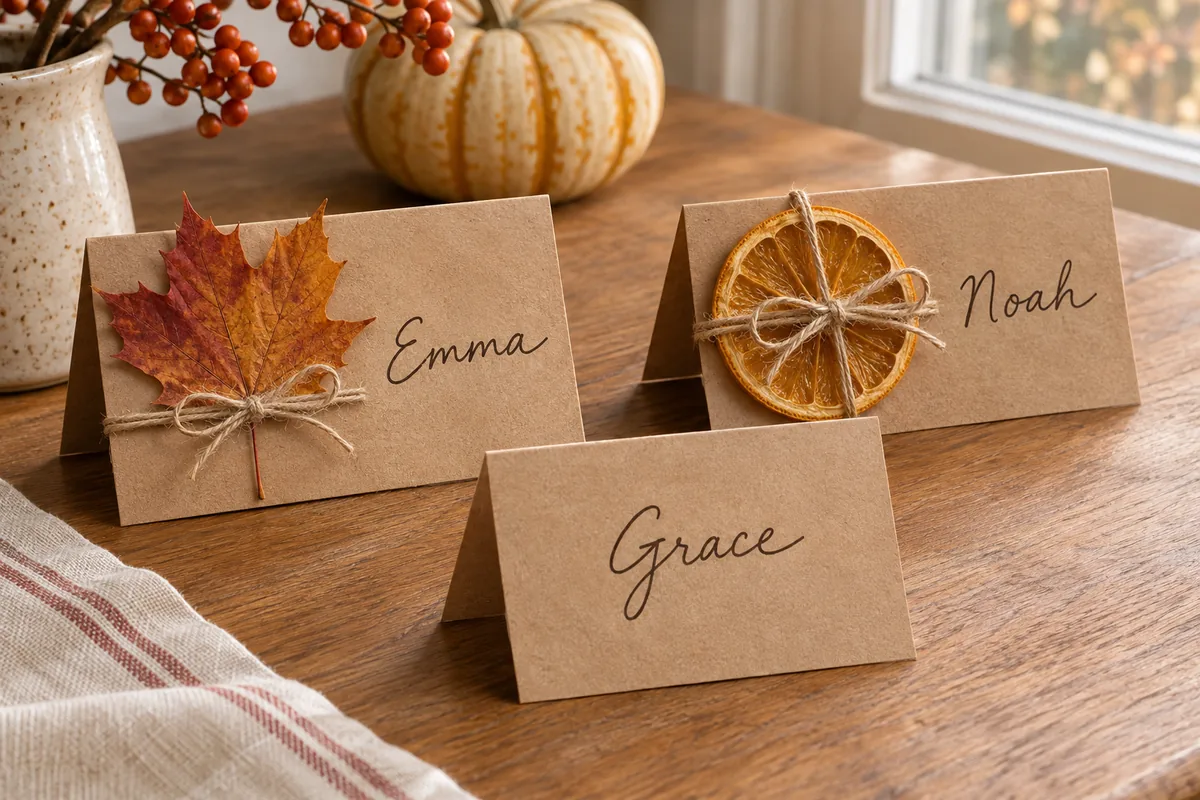
These DIY Thanksgiving place cards start with the same folded kraft base, then use a pressed leaf, a dried orange slice, or a simple ink border. You can make all three without a printer.
The trick is to build one complete card and test it at an actual place setting before cutting the rest. That small test saves the trouble of lettering a whole batch on cards that fall over or disappear behind the glasses.
| Quick Definition |
|---|
| DIY Thanksgiving place cards are handmade name markers that show guests where to sit. A folded cardstock base keeps each name upright, while a leaf, dried orange slice, or simple border gives the card a seasonal detail. |
Supplies For DIY Thanksgiving Place Cards
Start with kraft cardstock, a ruler, scissors, and a dark pen. Choose your decoration after you make the first fold. Ordinary brown packing paper can work for a flat tag, but I reach for cardstock when the card needs to stand on its own.
- Kraft or cream cardstock for the base
- Ruler, pencil, scissors, and a blunt folder or the back of a spoon for creasing
- Black or dark brown pen tested on an offcut
- Small pressed leaves, fully dried orange slices, or a second pen for borders
- Thin twine and a hole punch for tied accents
- A few extra blanks for spelling corrections and late guests
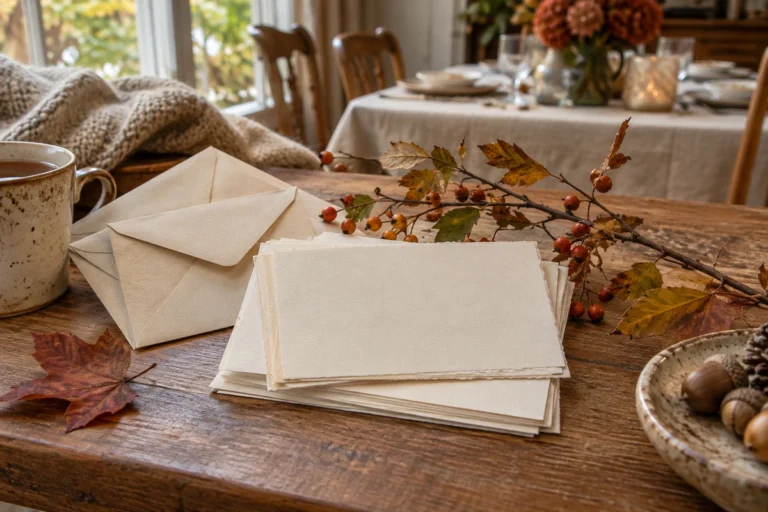
Make The Folded Card Base
All three designs use the same folded cardstock base. I like to test one blank beside a plate before cutting the rest.
- Cut a square. Start with a 4-by-4-inch piece of cardstock.
- Fold it in half. Crease the fold to make a tent about 4 inches wide and 2 inches high.
- Test it beside a plate. If space is tight, shorten the card slightly and move the decoration to a corner. Check that your longest guest name still fits.
Choose A Design That Fits Your Table
Use a pressed leaf for a flat accent, dried orange for a little color, or an ink border when you need a stack of cards in one sitting. Each style can use the same folded base, so you can combine them without making the table look mismatched.
| Design | Choose it when | Check before making the batch |
|---|---|---|
| Pressed leaf | You have flat, dry leaves ready | The leaf stays outside the lettering area |
| Dried orange and twine | You want a warm accent beside plain dishes | The slice does not tip the card forward |
| Hand-drawn border | You need the fastest design or a card for a tight setting | The longest name fits inside the border |
My takeaway:Choose the plain bordered card for a crowded table and use the more textured designs where each guest has a little space. The name should be the first thing you notice when you walk up to the chair.
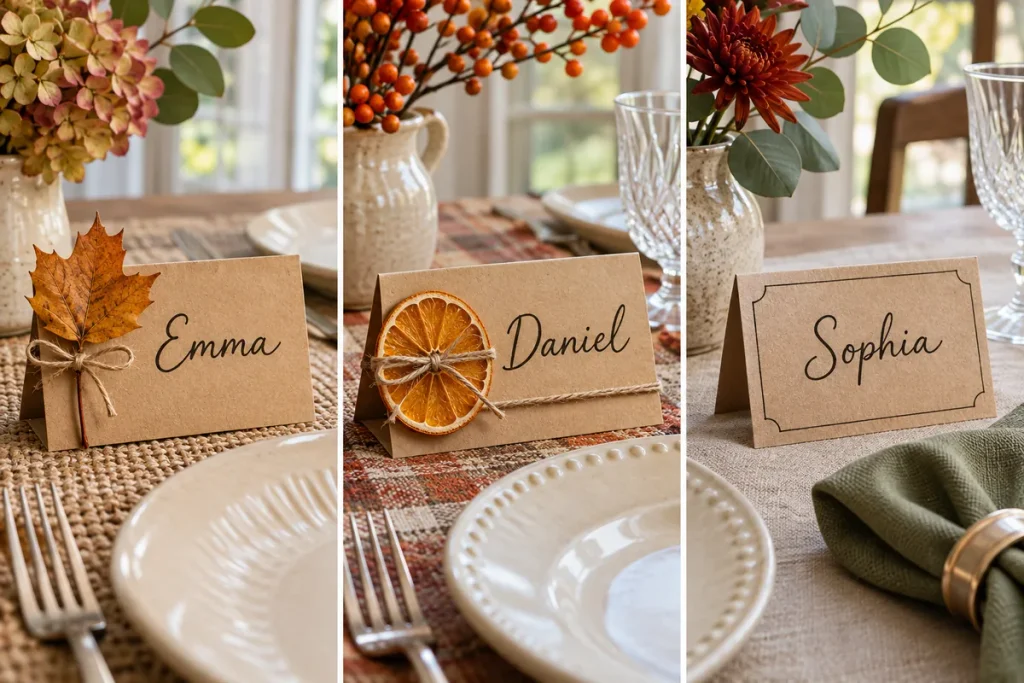
Pressed Leaf And Kraft Tent Card
A flat pressed leaf adds color without taking up much room. This design works well when you have dry leaves ready and want each card to look a little different.
What You’ll Need
- Folded kraft card, pencil, and dark pen
- Small, flat pressed leaf
- Thin twine and a hole punch, or double-sided tape
Steps To Make The Card
- Plan the layout. Set the leaf on the left side of the card. Mark the space for the name with two light pencil dots.
- Write the name. Remove the leaf and letter the card while it lies flat. Let the ink dry.
- Attach the leaf. Punch two holes in the front panel, away from the fold. Slip a short loop of twine through the holes and around the stem.
- Check the finish. Open the tent and gently shake the card over your work surface to check for loose pieces.
Tips
- Use double-sided tape for a brittle leaf.
- If the leaf sheds, swap it for a sturdier one or trace it onto cardstock and cut out the shape.
- Keep collected leaves off dishes used for serving food.
Dried Orange And Twine Place Card
A thin dried orange slice stands out against plain kraft paper. Use this design where the card has enough space to sit upright beside the plate.
What You’ll Need
- Folded kraft card and dark pen
- Thin, fully dried orange slice
- Twine, hole punch, and scissors
Steps To Make The Card
- Test the weight. Hold the orange slice against a front corner to see whether the card tips.
- Write the name. Keep the lettering clear of the space reserved for the slice.
- Tie on the orange. Punch two holes through the front panel. Thread twine through the holes and around the slice. Tie a small knot and trim the ends.
- Stand the card up. Check that it sits evenly and the name is easy to see.
Tips
- If the card tips, use a smaller slice or tie the orange to the folded napkin and stand the card beside it.
- One orange accent per setting gives enough color. Keep craft citrus clear of food.
Hand-Lettered Kraft Card With An Ink Border
An ink border is the quickest of the three designs. It gives the name a simple frame and works especially well when the table is crowded.
What You’ll Need
- Folded kraft or cream card
- Dark pen and a scrap of matching cardstock
Steps To Make The Card
- Test the pen. Check the ink on a scrap. If it spreads or looks faint under your dining room lighting, try a darker pen or cream cardstock.
- Write the name. Leave space beneath it for a short line.
- Draw the border. Add a line below the name and a small leaf shape at one end.
Tips
- A bottom border leaves more room for long names than a frame on all four sides.
- For a keepsake, write a short note on the back. “Glad you’re here” is enough.
Letter Names And Assemble The Batch
Cut, fold, letter, and decorate in separate passes. That order keeps wet ink away from finished cards and makes it easier to spot a missing name. Keep the guest list beside you and cross off each name as you finish it.
- Make one blank template and trace it on the back of the cardstock.
- Cut all the cards and fold them before adding any decoration.
- Write the longest name first and use it to judge letter size for the rest.
- Let the ink dry while you cut the twine and sort the accents.
- Attach one decoration to each card, then open and stand the tents on a flat surface.
- Leave two folded blanks and the same pen near the table for late changes.
Lettering Tips
- Add a surname initial to both cards when two guests share a first name.
- Use each guest’s usual name and check spelling before punching holes.
- Draw a light pencil baseline if you want even lettering. Erase it once the ink dries.
- Use block lettering if you want names to be easy to read across the table.
Display The Cards At Each Setting
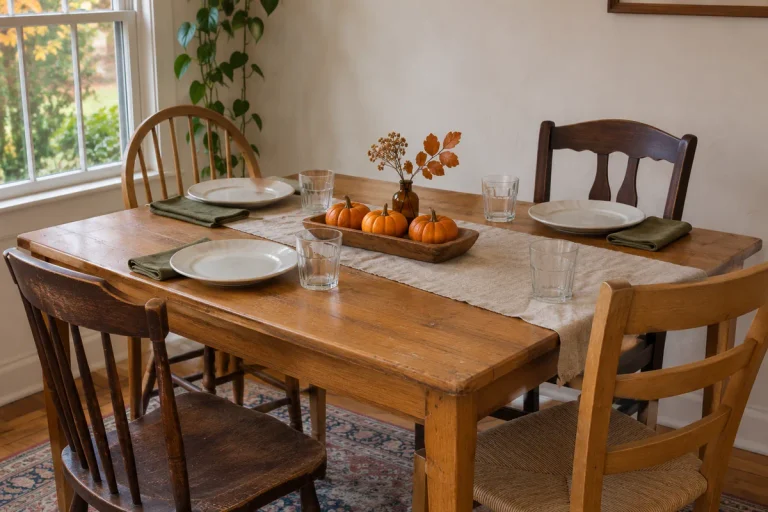
Give each card a spot guests can see as they approach the table. I check the sightline once the glasses and serving dishes are in place.
- Set out the glasses and serving dishes. This shows how much room each card has.
- Stand each card above its plate. Shift it to the side if the glass blocks the name. On a narrow table, try the space above the fork.
- Check the view from the aisle and from a chair. Move any card that is hidden or in the way of a serving dish.
My simple Thanksgiving table setting ideas show how to lay out the other pieces, and my guide to Thanksgiving table decor on a budget can help you decide which accents are worth adding.
Frequently Asked Questions (FAQs)
Can I Make Thanksgiving Place Cards Without A Printer?
Yes. Fold a rectangle or square of cardstock into a tent and write the guest’s name with a dark pen. You can leave it plain, draw a simple border, or add a small leaf. Trace one cut card as a template for the rest.
What Can I Use Instead Of Kraft Cardstock?
Try cream cardstock, unused index cards, or a clean piece of thin cardboard with a plain side. Test the fold before cutting the batch. If the paper collapses under its own weight, use it as a flat tag beside the plate or mount it on a stiffer blank.
Can I Make The Cards The Day Before?
Yes, if the natural accents are already dry. Keep the cards flat and separate any bulky citrus designs with a little space so they do not crush one another. Stand them up when you set the table and check that the heavier accents still sit securely.
How Do I Stop A Place Card From Falling Over?
- Open the tent fold until both edges sit evenly on the table.
- Use a lighter accent or set it beside the card if it pulls the card forward.
- Test the finished sample on the actual table before making the rest.
Final Thoughts
I like DIY Thanksgiving place cards that make it easy for guests to find their seats and give the table one small handmade detail. Start with a folded base you can repeat, then choose an accent that fits the space and the time you have.
A pressed leaf is enough on a quiet table, and a line of dark ink looks right beside almost any plate. Make a sample, check it from the aisle, and keep a couple of spare blanks nearby. Once the names are clear and the cards stand, you can turn your attention to the meal.